Lists and blocks are app objects you can use to configure your data and display.
Both are parent containers that can hold other app objects, like content boxes, data cells, buttons, and segments. So, you might ask, how do I know which one to use?
At a high level, we can describe the differences in this way:
A list shows data from all or a subset of rows in a table.
A block can only display data from a single row.
Now, let’s see how it’s applied in app building.
Use a list for your home screen
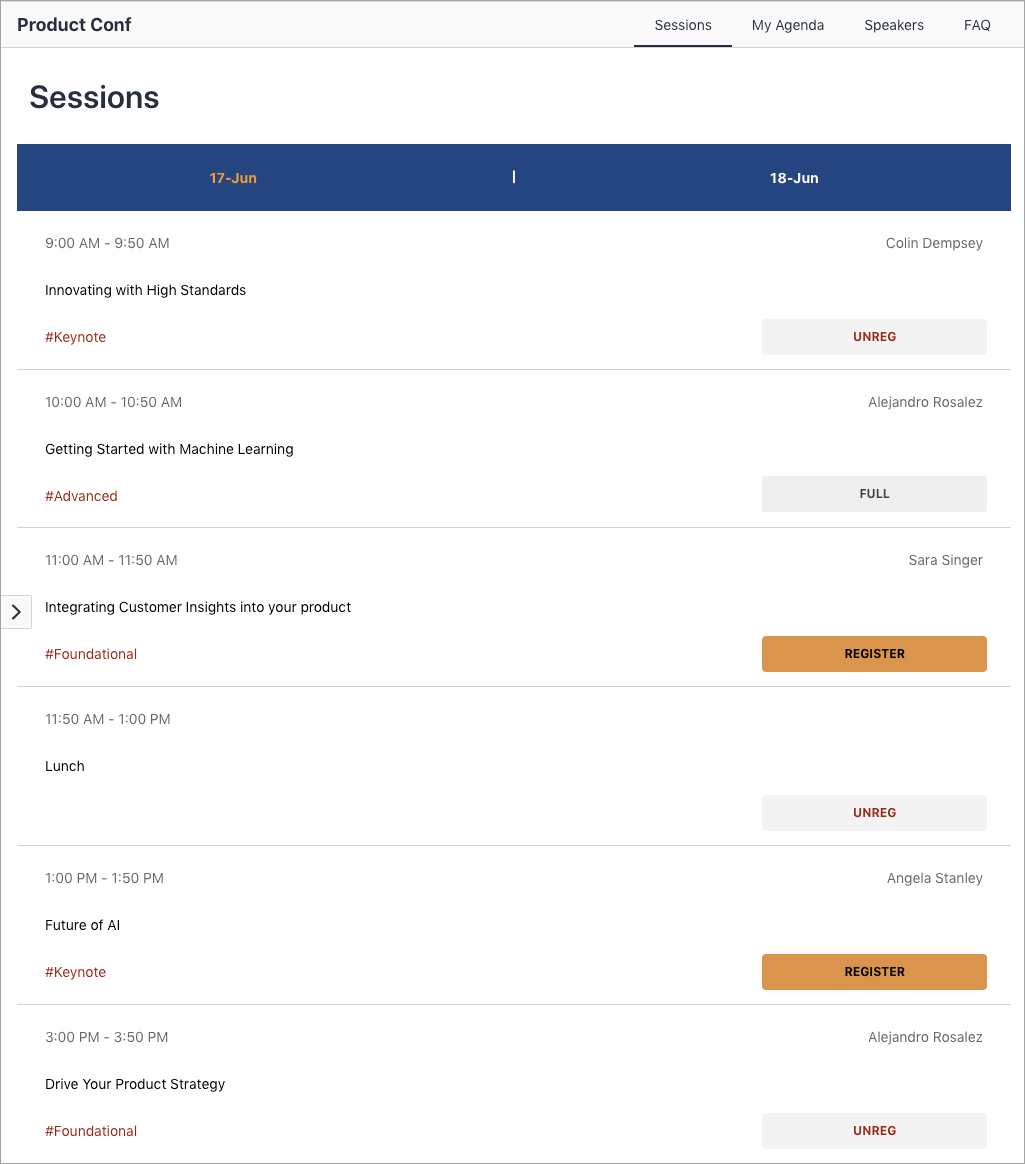
Lists are commonly used as the first screen in business applications; read more about List → Detail → Form patterns in app design. The list in the app below shows top-level information about sessions offerings at a product conference.
Use a block for your detail screen
Blocks can show more in-depth details about a list item. Continuing with the example above, if a conference attendee were to click on the top session, Innovating With High Standards, they would see more details about that session, like the speaker and location, in the following screen.

Use a list to show multiple rows in a table
Lists show data from all rows or a subset of rows in a table. Here’s the same example as from above, but we’ll see how it plays out in Builder.
In Builder, when you add a list to your app screen, you’ll only see the first row displayed. The reason for this is so you can have a focused area to work. Don’t worry—all your rows are there! Click into the list in builder to highlight it, and you can scroll through the other list items.

Use a block to show one row from a table
Blocks can be used to show a more in-depth view of data from a row. Use blocks to create focused views, like the detail screens below. In this example in Builder, the block’s source is set to =$[InputRow]. This means that the block will display a row based on the app user’s list selection.

Use lists & blocks for editable content
When you insert a list or block in an app screen, a segment and a content box are automatically placed inside. Add a data cell that you want users to be able to edit, and in data cell properties, check the “Editable” box.
In the example below, you can see that we used a block to add a rating feature.

| Was this article helpful? |
|---|
- Yes
- No
0 voters