Topic
Have you seen a Honeycode template that could work for you if the app had different labels and fields? Maybe you need to add or change one that is prebuilt?
As part of our Explorer Series, we'll introduce a common pattern in app design and our templates that utilizes: List screen > Detail screen > Form screen and show you how to customize the fields and labels. This pattern is great for displaying spreadsheet data to app users. It provides a birds eye view of the data with the list, an up close and personal view on the detail screen, and the ability to enter new data on the form screen.
- Lists: Often found on the home screen of an app, a list shows high level information. Lists are app objects that can display multiple rows of data from a table. The image below is color-coordinated to show how data is stored in a table, configured into a list in builder, and presented to the user in an app.

Builder tip: this same model of organizing data in a table > configuring in the builder > and displaying in an app can be applied for the Detail screen and Form below. Often, you will use the same table as a data source for all three screens. In this case, that would be the Tasks table.
- Detail screens: After clicking an item in a list, it's common for the app to navigate to a detail screen that shows more in-depth information about the item. It's also common that you can edit the item's data or even delete the item on this screen.
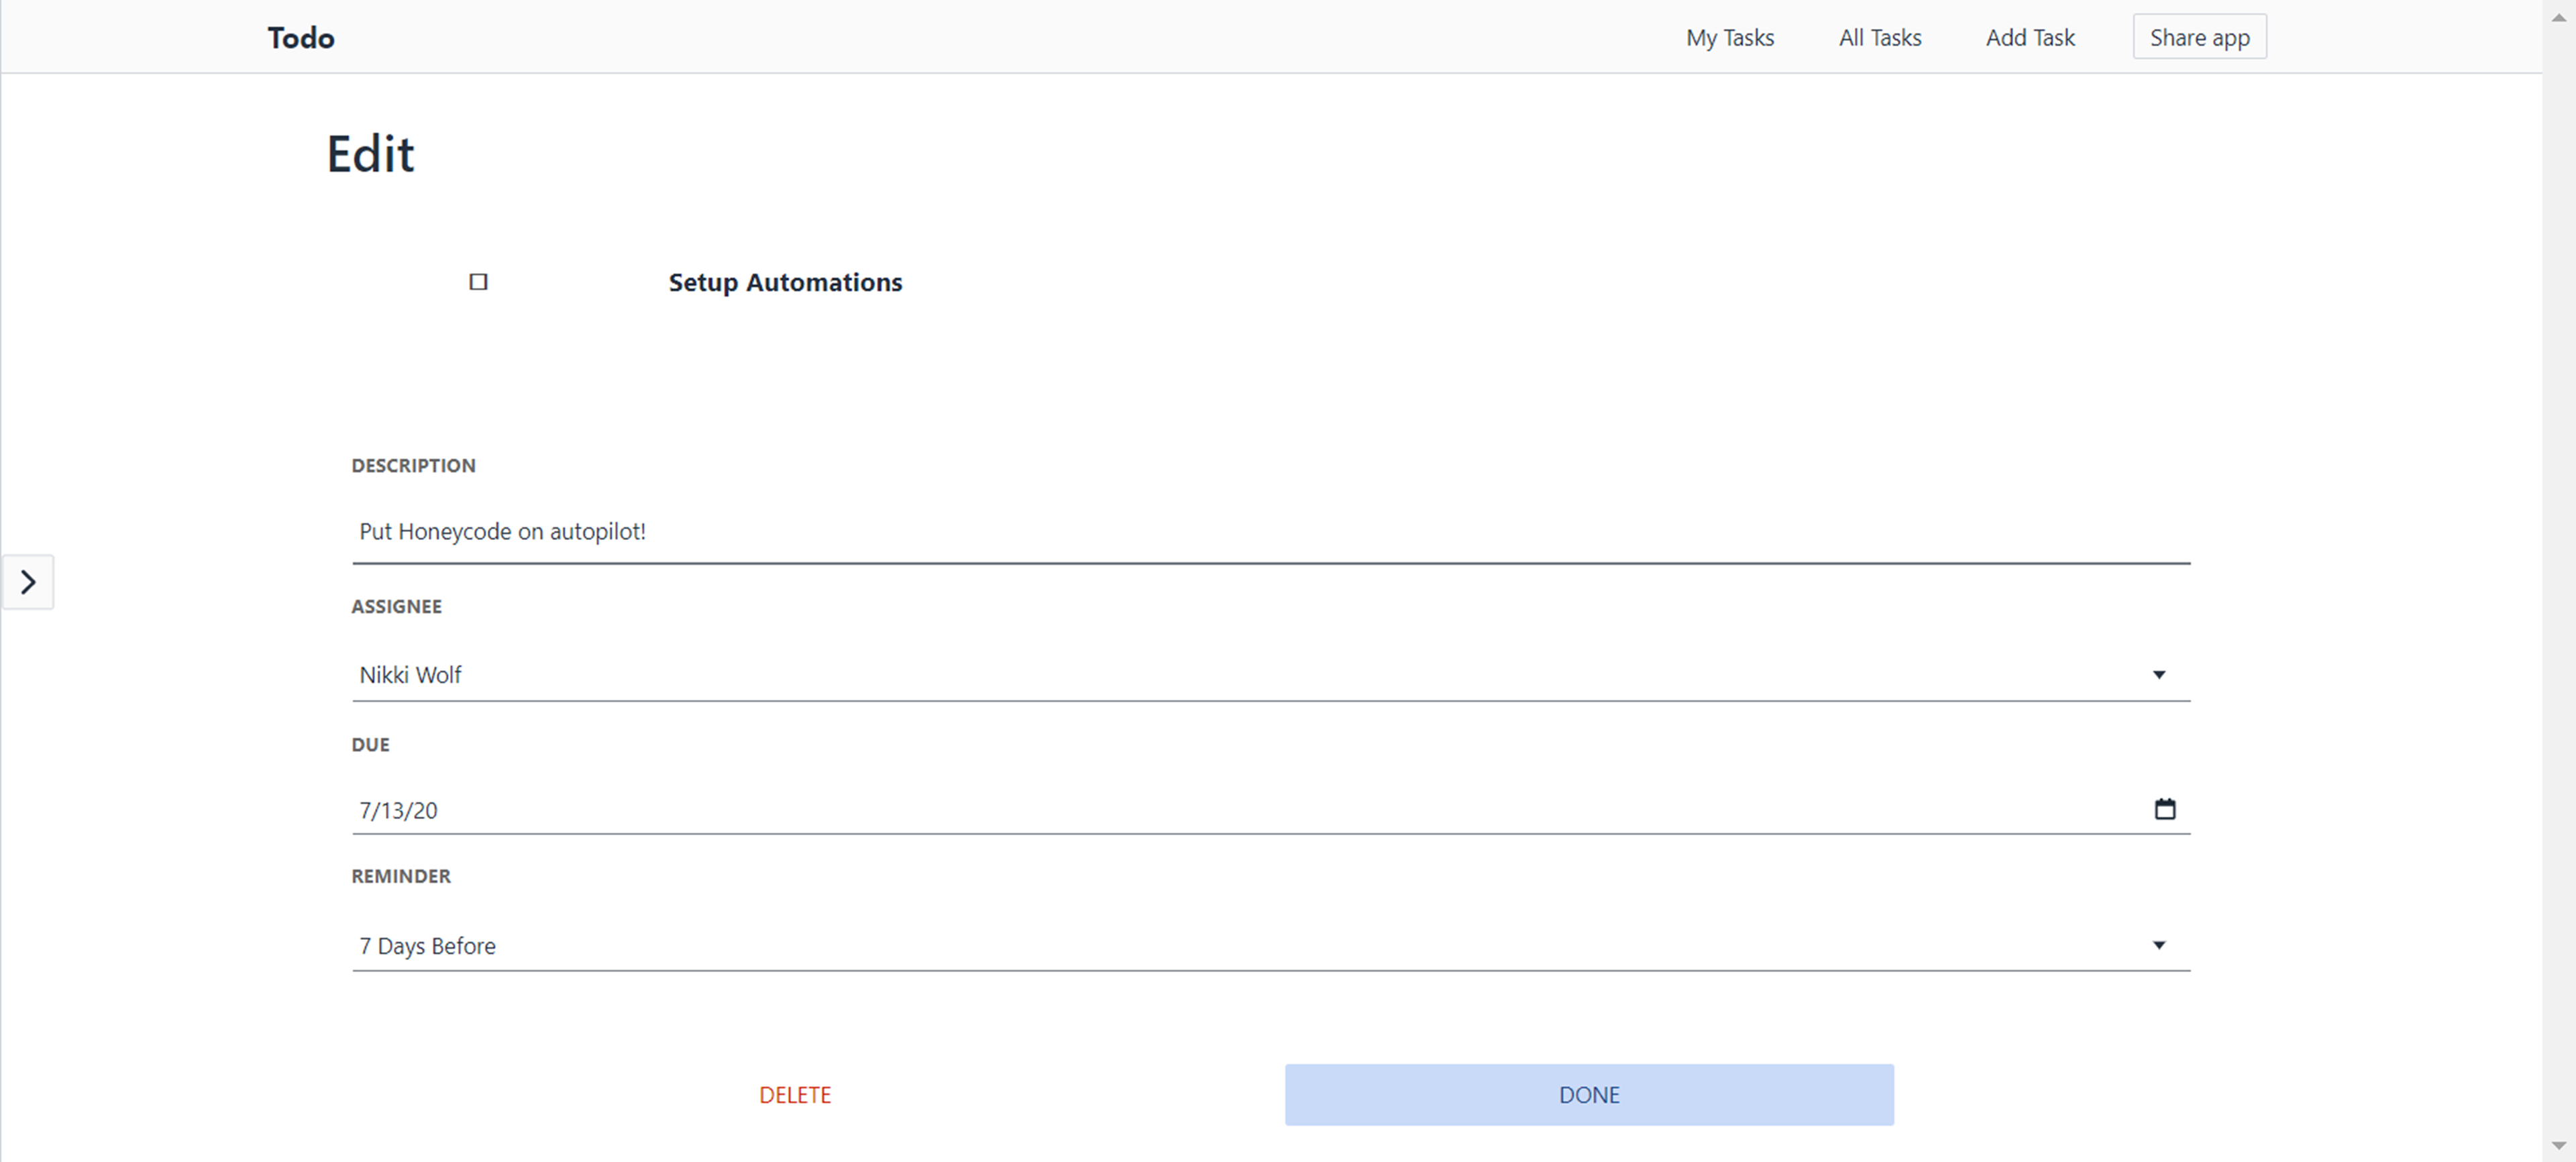
- Forms: Common in Honeycode apps, these app objects allow users to make new entries! Typically, the app user will fill out the fields and click a button, which triggers the data to be added to a specified table. Forms can be inserted into an existing screen or added to a new screen. In this case, there is a dedicated screen.

Now that we've defined the list>detail>form pattern, we'll show you how to customize using one of our templates, so you can have the fields and labels that make the most sense for your team's needs!
Depending on your use case, it can make sense to add the new field and label to all three of the list>detail>form to give your app users visibility into the new data with the ability to edit. We'll show you how to add a new field and label to a list, ensure your app users can drill into the new field's data on a detail screen, and enter data into the new field on a form.
Adding a field to a list
Nearly all of our templates have lists. Not only can their data easily be swapped out with yours, you can add fields to create the app you envision!
Below is a before-and-after image of the list on the My Tasks screen customized with a newly added description field!

 Video with steps!
Adding a field to a form
In the last video, we added a new field to a list, and for app users to enter a complete set of data into the newly customized list, they'll need to have access to a matching input field on a form.
We'll show you how to customize a form, so your team has the input field they need!

Video with steps!
Adding a field to a detail screen
The last place that is often good practice to add the new field to is the detail screen of the app.
After clicking on a list item, users land on detail screens, which provide a drilled-in view of the list item's data. It's important to make sure we add the new field here, so the user can make edits/delete the data.

Video with steps!
| Was this article helpful? |
|---|
- Yes
- No
0 voters