Hi @Bhav-0efb,
Thanks for posting this topic, I'm happy to help with this! 
You're on the right track and correct in that you'll want to use GETROW(). I can show you how to set it up with an offset for a previous and next button, based on a picklist on a screen.
First, I set up a table with some values (these will be the rows we will navigate through with next and previous buttons in the app):
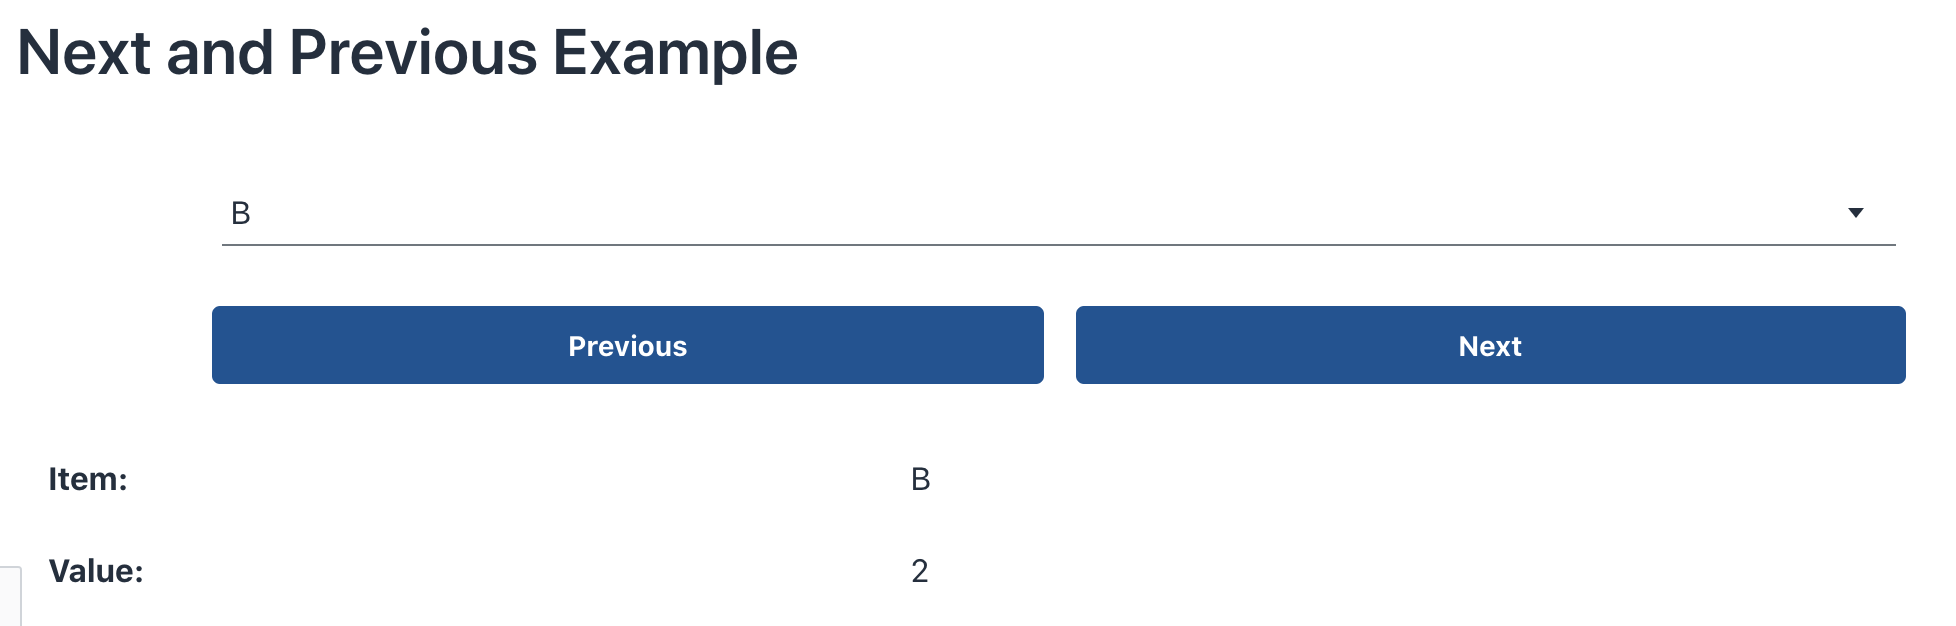
Then in Builder, I created a screen with an editable data cell that is a rowlink to the table, a previous button, a next button, and content boxes that display the values of the current input row:
Note that I've named the data cell that has the rowlink "InputRow", which we'll be using in the formulas for the button automations.
For the "Previous" button, I created an automation action to Update the current screen (update the value of the $[InputRow] variable). I used GETROW() to offset by -1 from the selected row.
So the formula looks like:
=GETROW(Item_Table,-1,$[InputRow])
For the "Next" button, it's a similar formula that offset by 1 instead of -1.
So the formula looks like:
=GETROW(Item_Table,1,$[InputRow])
Now, when you open the app, you can select a row from that table from the picklist, and then use the "Previous" and "Next" buttons to navigate through the rows:
Clicking the buttons allows you to go through the rows as desired.
Let me know if this helps, and if you have any other questions.