Picklists, in essence, are dropdown menus. They are super handy if you want to add a dropdown menu of options to a table and later use in your app.
For example, let's say you have two tables of data (Projects and Tasks) that both require a Status column. You're tired of typing out the individual statuses for each item and wish you could select from a dropdown menu, as shown in the GIF, to save time and effort. This picklist can then be used by app users to limit entries to predetermined text.

Steps to quickly add a table and format as a picklist
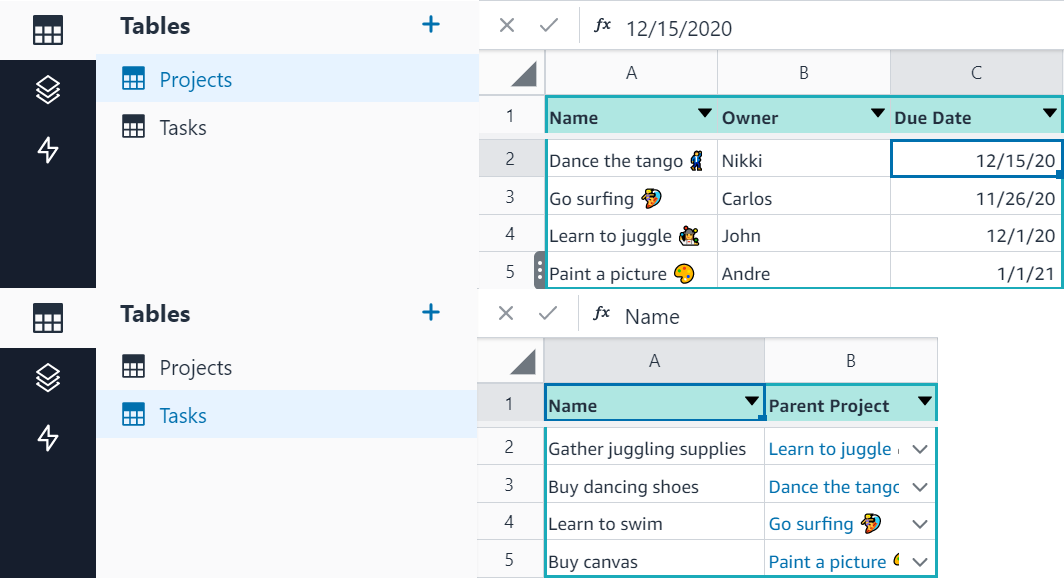
Builder tip: These steps assume you have two tables built as shown below. We need to add a Status column, but don’t have data in a table for that yet.
- In Tables, add a new column in your existing table and name the column Status.
- Click the Formats button and in the Column Properties pane, select the Rowlink & picklist format.
- In Source, select + New. Honeycode appends column name to the current table name. You can change this if desired.
- Click the + button to add the number of picklist items needed and type the desired text into the fields.
- Click Save a table.
Honeycode creates a new picklist table with the picklist items and formats the column to use the new table as source. Follow along in the below video to see the workflow.
Steps to build a picklist from existing tables

-
In the M_Tasks table, select the Status column (you can do this by clicking on either any cell in the Status column or the "B" column header).
-
Click the Formats button in the properties ribbon. If only a cell in the column was selected, clicking the Formats button causes the entire column to be selected.
-
In the column properties panel, do the following:
a. Format column as Rowlink & picklist
b. Set source to Status table

Voila! Changes are automatically saved for you and your Status column cells now have a picklist. Click the cell's chevron (downward pointing arrow) to select a status.
In your Projects table, repeat Steps 1-3.
That's it!
| Was this article helpful? |
|---|
- Yes
- No
0 voters