Topic
Are you looking to create custom views for app users so they only see data relevant to them? Perhaps you have sensitive information that only some app users need to see?
With Honeycode's personalization feature, you have the power to control what is displayed to each of your app users, so you can securely share sensitive data with the right stakeholders.
Steps
Builder's tip: This article assumes you already have a table of data. Feel free to use your own or follow the example below by accessing the template: Dashboard > Create Workbook > Use a template > Inventory Management.
-
Start with a table of data you want shown in an app.
-
If you haven't done so already, you'll need at least one column formatted as Contacts to create a personalized view. Select the column > click Formats > click Contact > click Apply.
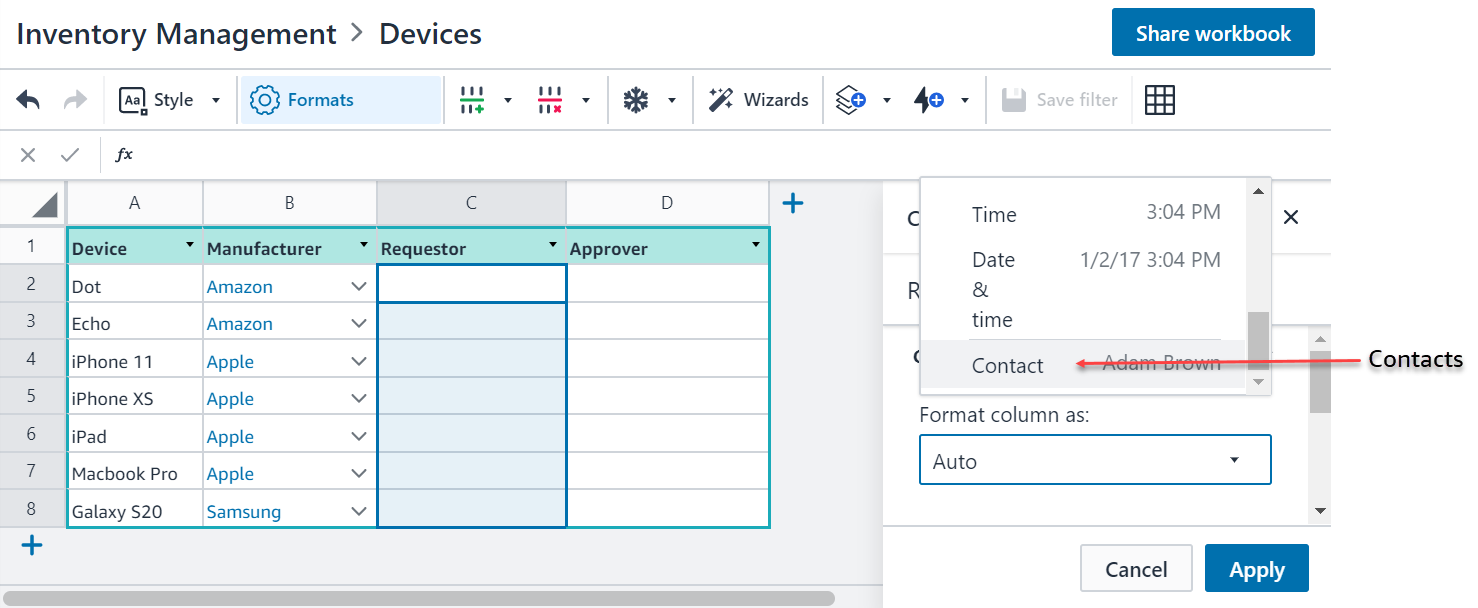
When entering an individual into a column formatted as Contacts, their name and email address needs to be registered in Honeycode. You will know they are registered if:
- They appear in the dropdown suggestion menu when you start typing their information.
- They appear in the dropdown suggestion menu when you click the cell's chevron.
Please note that personalized app views will not be created for free-form email addresses.

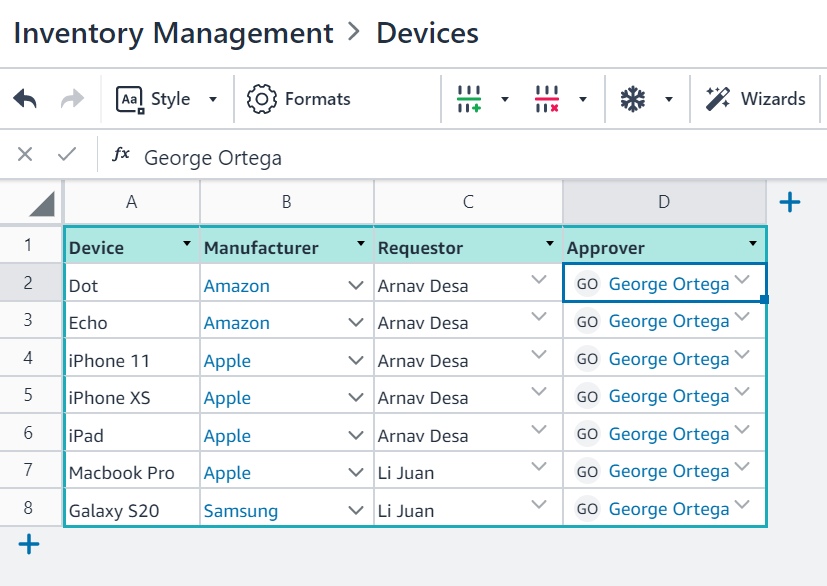
- Populate the contact-formatted column(s) using the dropdown chevron or type in their name(s) or email address(es).
- Go to Builder, and add a list. From the pop-up box, select the table (List source) and columns (Display) you want the app user to see. Make sure to include the Contact formatted column from steps 1-3.
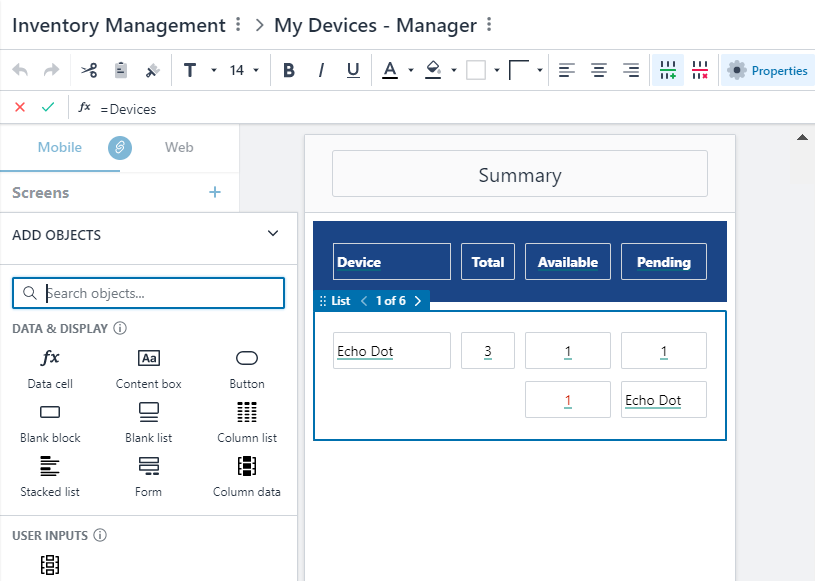
- Select the list and find the personalization feature in the Properties panel, under the Data tab. Select the column(s) formatted as Contacts. When a list is personalized, a “person” icon appears in the list flag.

- Success. You have now personalized your list. If you decide to personalize the list by multiple Contact formatted columns, “OR” logic is followed.
| Was this article helpful? |
|---|
- Yes
- No
0 voters