Hi @CHAL-efa4, welcome to the community! 

Happy to help  I created an example of this for you to help show how the data model would look.
First, here's a Customers table, which has the customer contact and a column to filter all associated deliveries from a Deliveries table. Here's the FILTER formula for the deliveries in my example:
=FILTER(Deliveries,"Deliveries[Customer]=[Name]")
Here's the Deliveries table, which has the date, each customer, and a quantity:
In the app, on a Home screen I set up a button to start the current day's deliveries. On this button, I added an automation which adds a row to the Deliveries table with the current day's date, each customer's name, and 0 for the quantity (which can be edited in the next screen). This is done with a FILTER formula of the Customer table in the Run Options (to write a row for each customer).
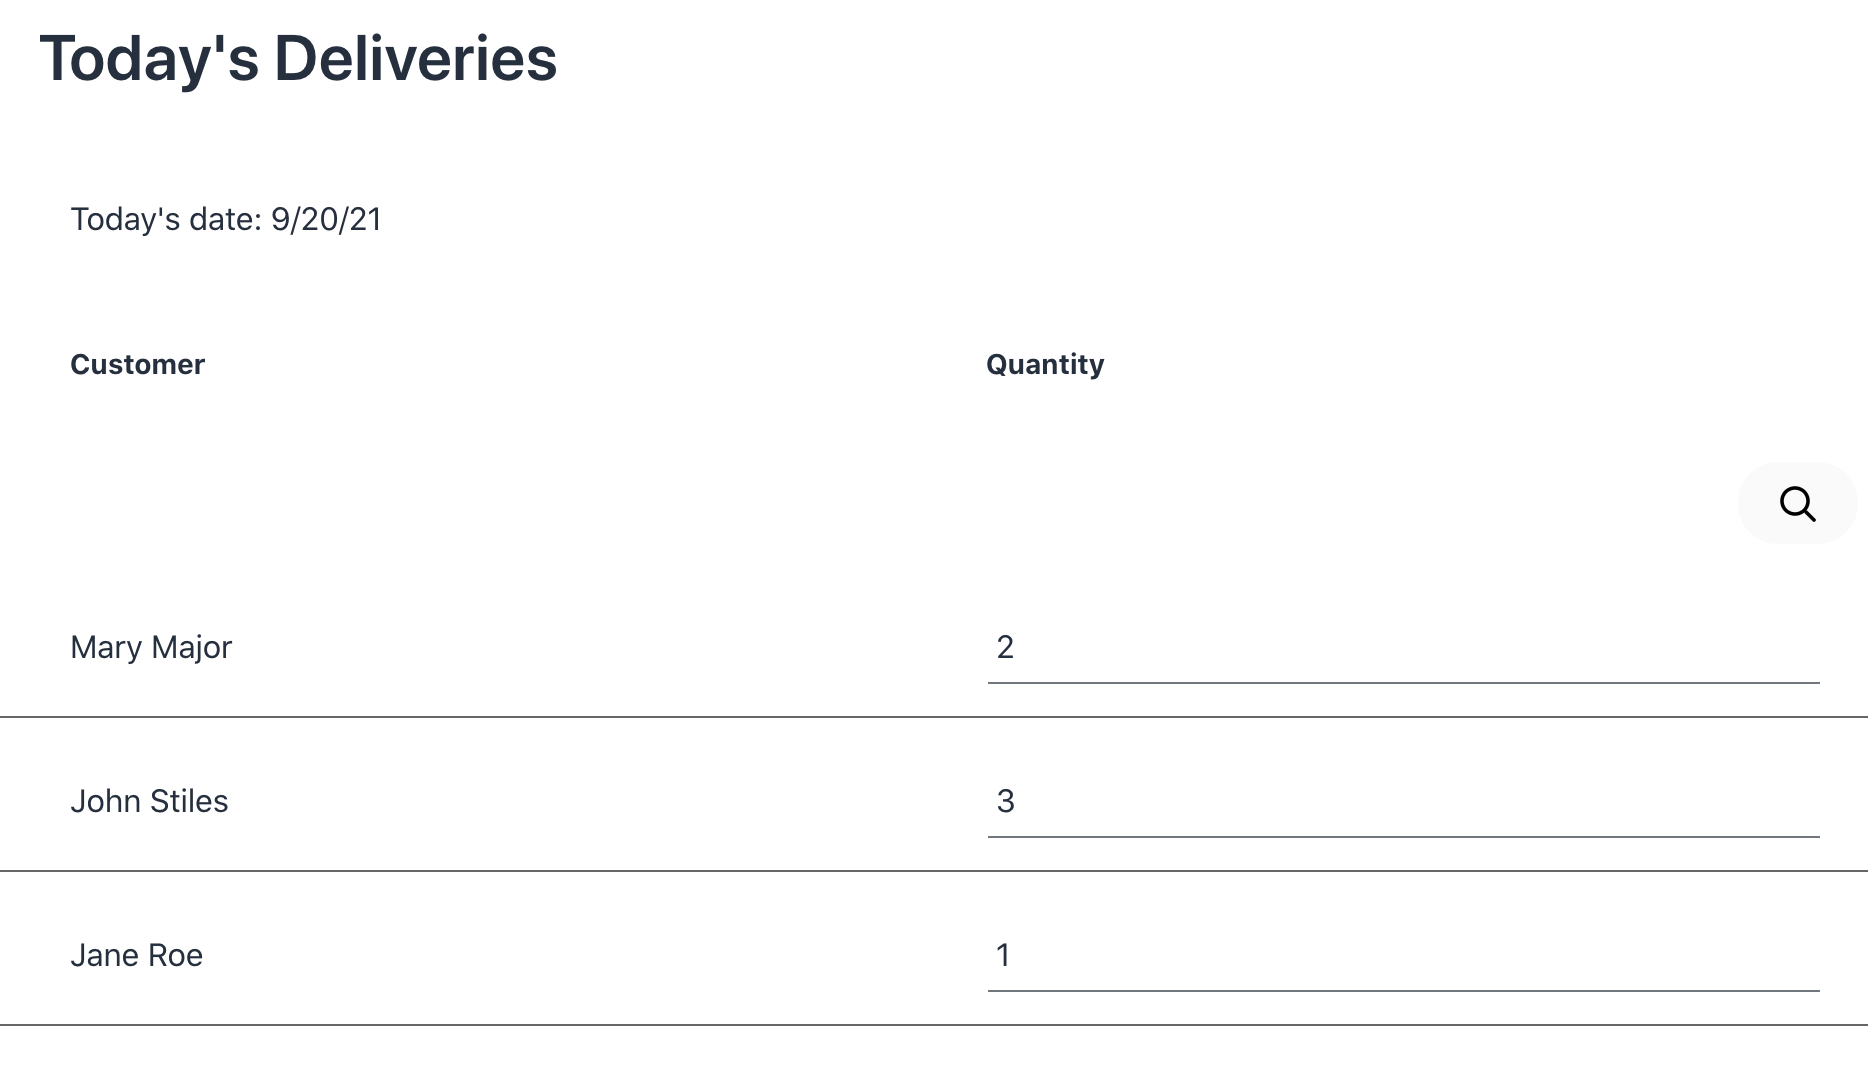
After that step, there's another which navigates to a screen of today's deliveries:
If I click that button now in run-time, it creates a row for each customer with today's date:
The screen for Today's Deliveries contains a filtered list of rows in the Deliveries table matching TODAY():
=FILTER(Deliveries,"Deliveries[Date]=TODAY()")
For your ask to edit the quantity, select the quantity field and check the "Editable" box to allow for these changes:
If a user makes changes to this quantity, it will then update in the table as well:
For your last ask to see all the deliveries of a given month, you can create another screen with a list that filters only that month:
=FILTER(Deliveries,"MONTH(Deliveries[Date])=MONTH(TODAY())")
This concept of applying a filter can be applied to any specified time frame. You can also use the built-in filter and sort controls to give the user further control to filter or sort by a particular column:
Hope this example helps! Let us know if you have any other questions.