Summary
An automation is a self-operating series of actions that you can configure in Honeycode. Automations can help your team to stay in sync—in real time—and put repetitive, manual tasks on autopilot.
A trigger determines when an automation should start
An action determines what Honeycode should do
Adding automations
First, open a workbook. In the left nav, click the [+] next to Automations.
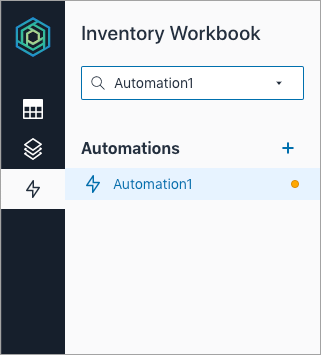
Here you will see the area where you can choose your triggers and create your automation.

Triggers
There are four types of triggers that you can set to start an automation:
- Date & time reached
- Row added or deleted
- Column changes
- Cell changes
Once the trigger condition is met, the automation will begin running through all of the actions you set. Let’s take a look at each trigger and how it works.
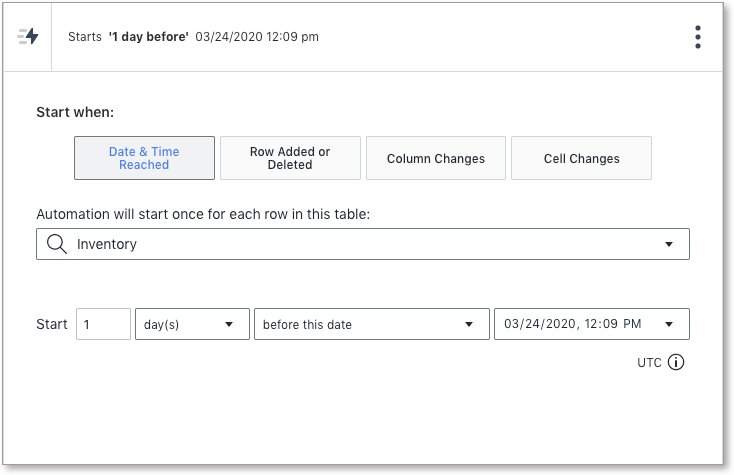
Date & time reached
The Date & Time Reached trigger starts an automation once a date and time condition is met. Simple, right?
Begin by choosing the table you want to run the automation on; once it’s triggered it will run once for each row in that table. You can choose to start the automation at either:
- A specified date and time
- Before/after a date in a table column
In the example below, the automation is triggered one day before May 27, 2020 at 4:02 pm UTC and will run once for each row in the Inventory table.
Builder tip: All dates and times are set in Coordinated Universal Time (UTC). To calculate UTC in your time zone, subtract how many hours your time is off from UTC. For example, UTC - 8 hours = PST.
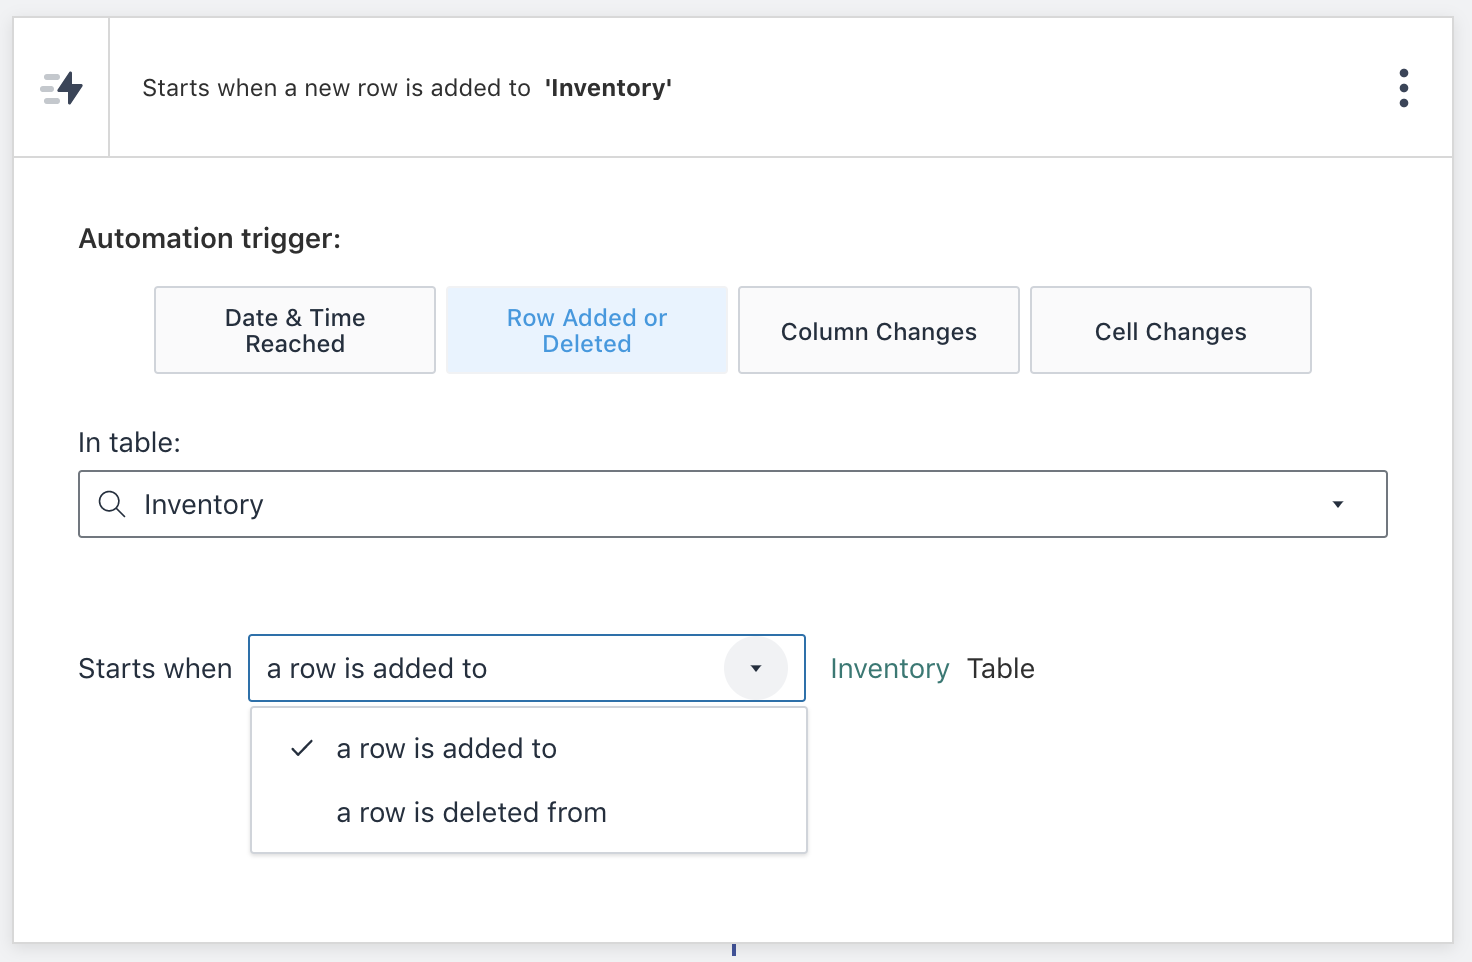
Row added or deleted
Begin by choosing the table you want to run the automation on. You can choose to start the automation when:
- A row is added to a specified table
- A row is deleted from a specified table
In the example below, an automation is triggered every time a new item is added to the Inventory table.
Column changes
You can trigger an automation when a specified column changes. You can choose to start the automation when:
- Any changes to a column are made
- A column changes to a specified value
- A column changes from a specified value
In the example below, an automation will be triggered whenever there is any change in the Date Due column of the Inventory table.

Cell changes
You can also trigger an automation when a specified table cell changes. Start by selecting a sheet/table and then entering a cell reference. The format to enter a cell reference is by adding a = before the cell number. For example, if you want to set a trigger on cell C3, you’d enter =C3 in the entry field.
You can choose to start the automation when:
- Any changes to the specified cell are made
- The specified cell changes to a specific value
- The specified call changes from a specific value
Start by selecting a sheet/table and then entering a cell reference. In the example below, the automation starts when cell A1 changes in the Project table.

Builder Tip: If you need to refer to the previous value of a cell or column prior to a change, use the system variable $[PREVIOUS].
Actions
For any automation trigger, you can create one or a series of actions. To add multiple actions to an automation, click on the [+] below each block. You can also go back to any of the triggers or actions to edit.

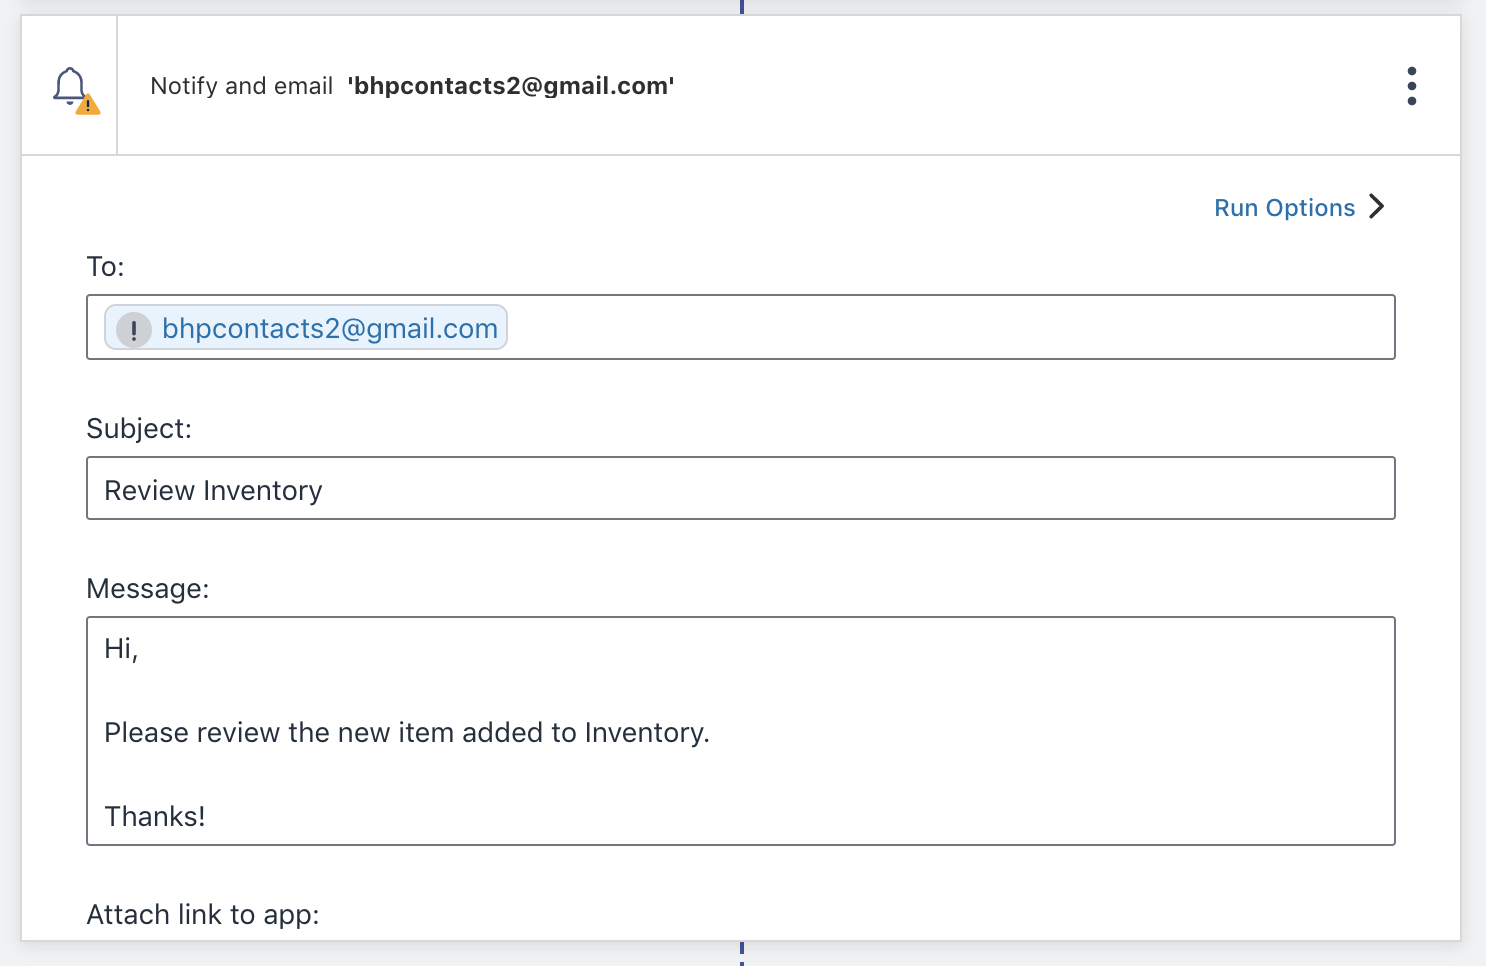
Notify
Notify lets you send an email and an in-app notification to yourself or another team member when a specified trigger occurs. You can also use a formula in the “To” field that points to a cell containing a contact.

Add a row
The “Add a row” action adds a blank row to a specified table. Begin by choosing the table you want to add a row to. Fill in the “Add data to new row” section to specify which column in the new row to populate. The data can be displayed as either a value or a formula.
- Value: If a formula is entered in the “Take data from” field, then the output of that formula will be written into the column of the new row as a value
-
Formula: If a formula is entered in the “Take data from” field, the formula itself is written into the column of the new row

You can repeat these steps for as many columns in the new row as you like; simply click +Add another.
Delete a row
This action allows you to delete a row in a couple of different ways. Let’s take a look at the options.
- Context row: This the current row that the action is manipulating. In most cases, this will be the triggering row. See the builder tip below for more
- Specified row: Enter a formula that will return one or more table rows to be deleted. If you do not specify a row, the context row will be deleted by default.

If you have an iterator condition in Run Options, the context row is same as iterator row.

Overwrite
You can use this action to overwrite data in a table cell. By default, this action takes data from a field specified by a formula and writes it to the target field as a value. Select the “Formula” button to write to the target field as a formula.

You can repeat these steps for as many columns in the new row as you like; simply click +Add another.
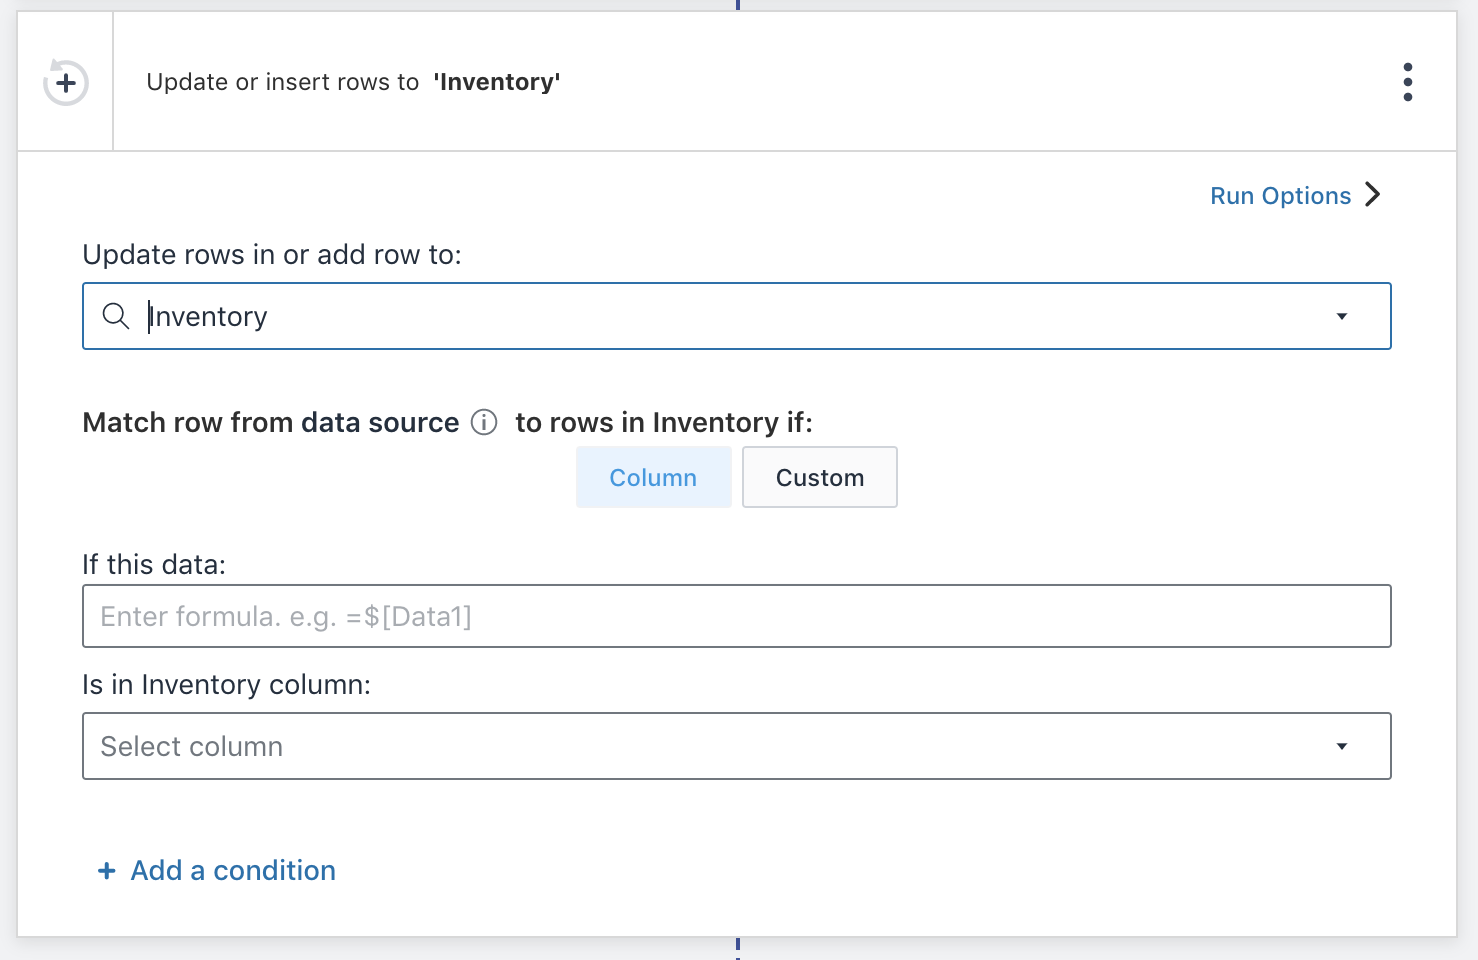
Update or insert row
Use this action to update or insert a row in a specified table. You can choose to add filter conditions.
| Was this article helpful? |
|---|
- Yes
- No
0 voters